From Flat To Fixed
Quick Tips for Easy and Effective Tire Repairs.
SIDEWALL REPAIR
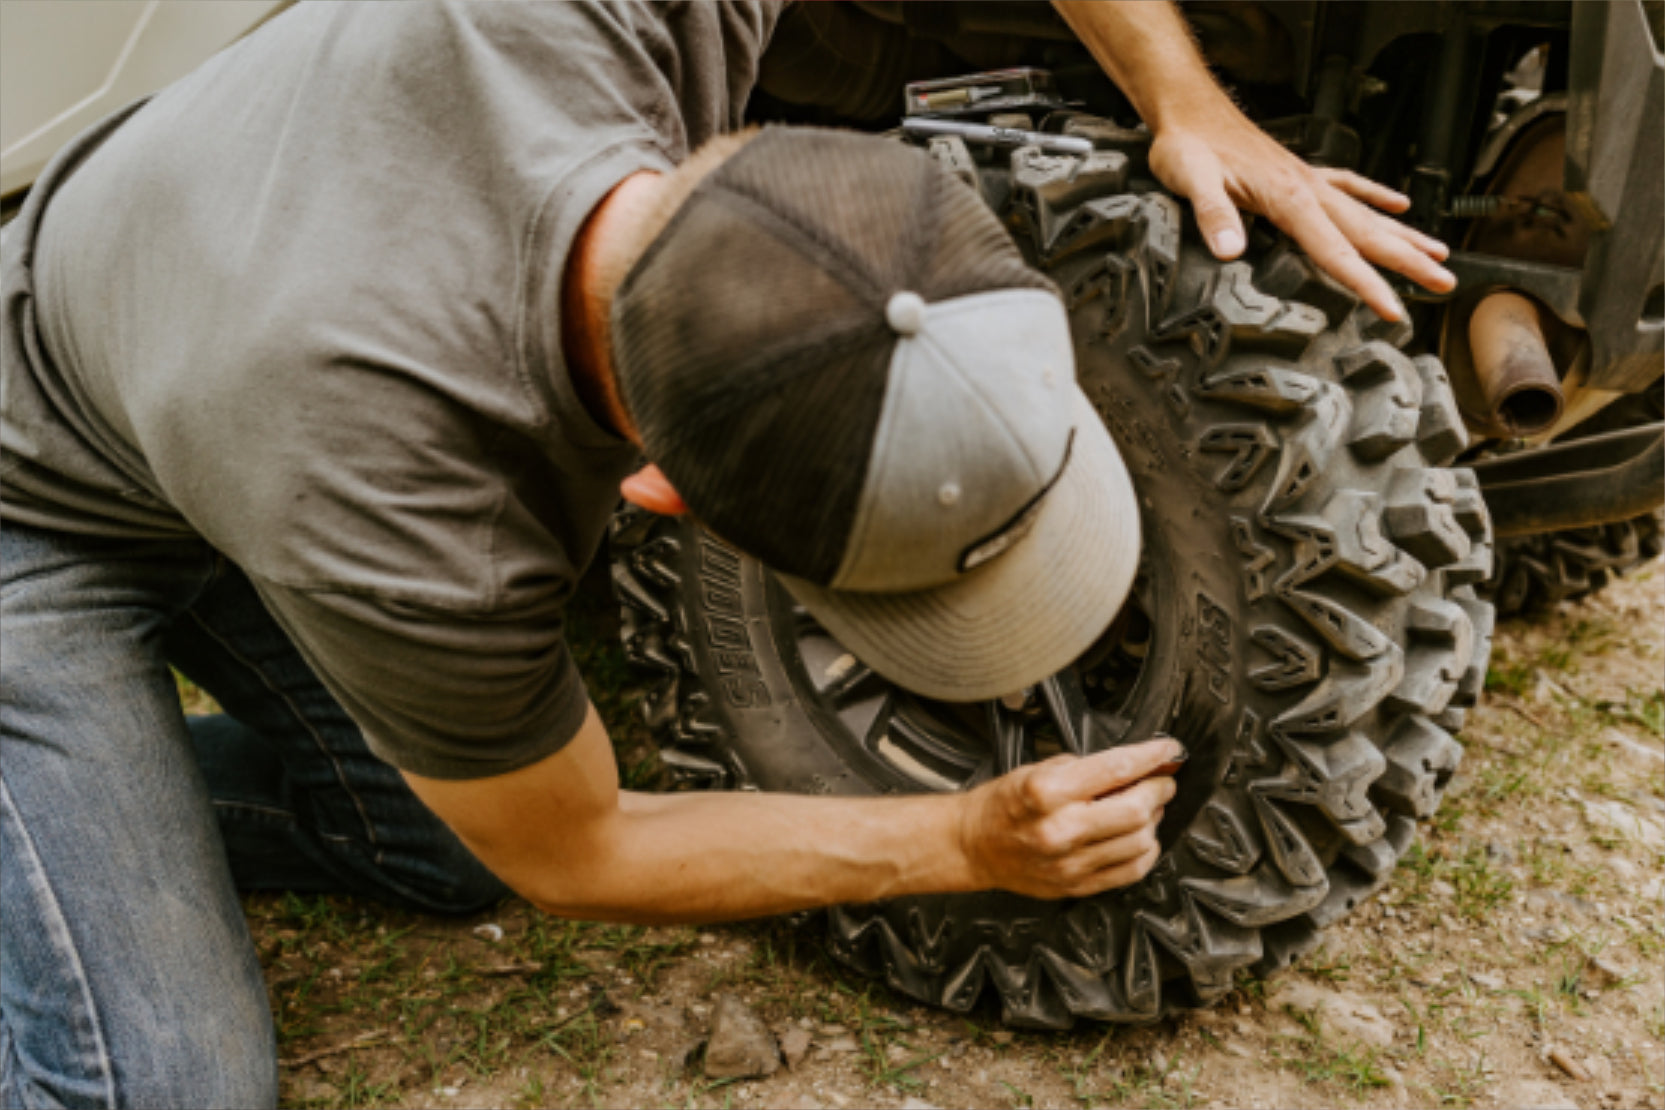
Prep the surface
Sand the damaged area to create a smooth surface, ensuring no lettering, raised areas, or lugs remain where the patch will be applied.
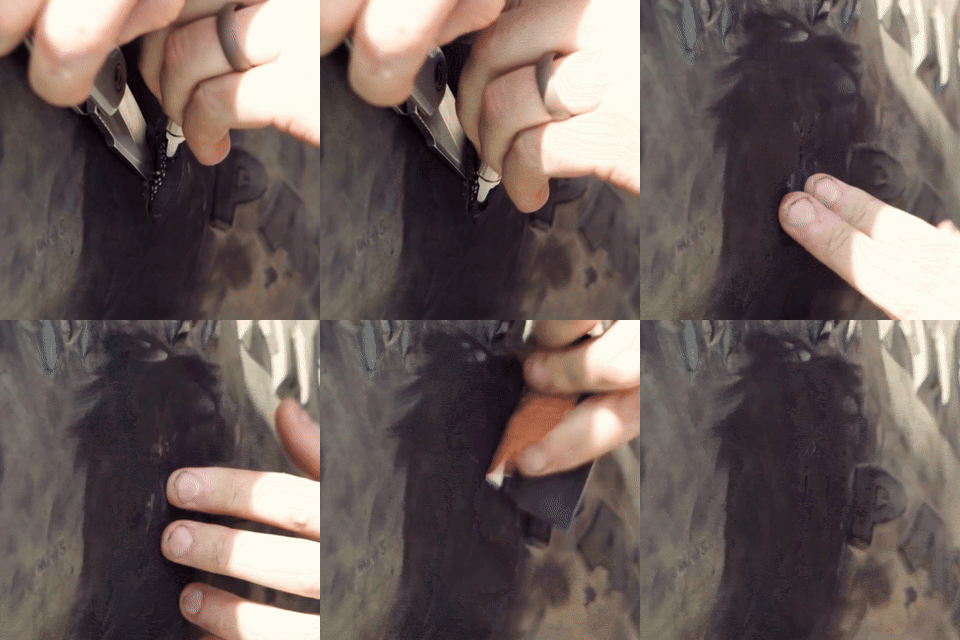
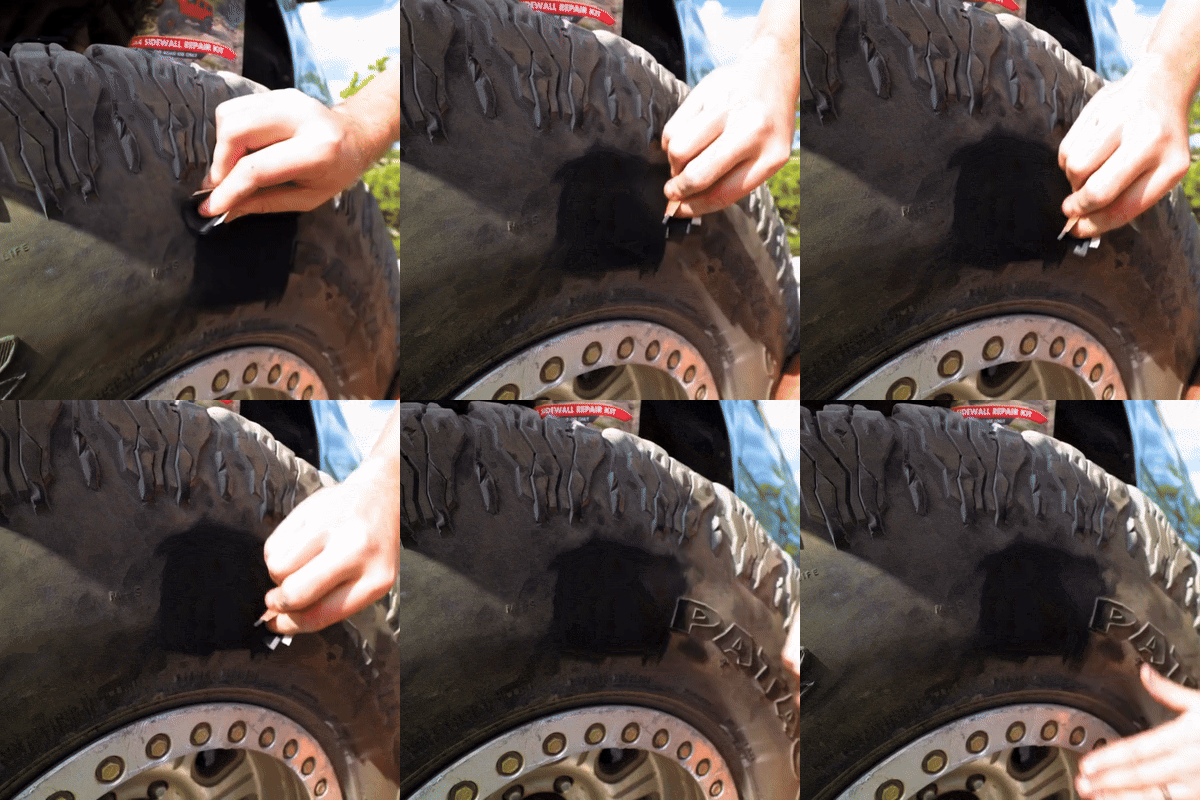
Apply adhesive
Keep the cut edges pressed together for one minute while the adhesive sets. Once it's dry, lightly sand the area to smooth out any excess adhesive.
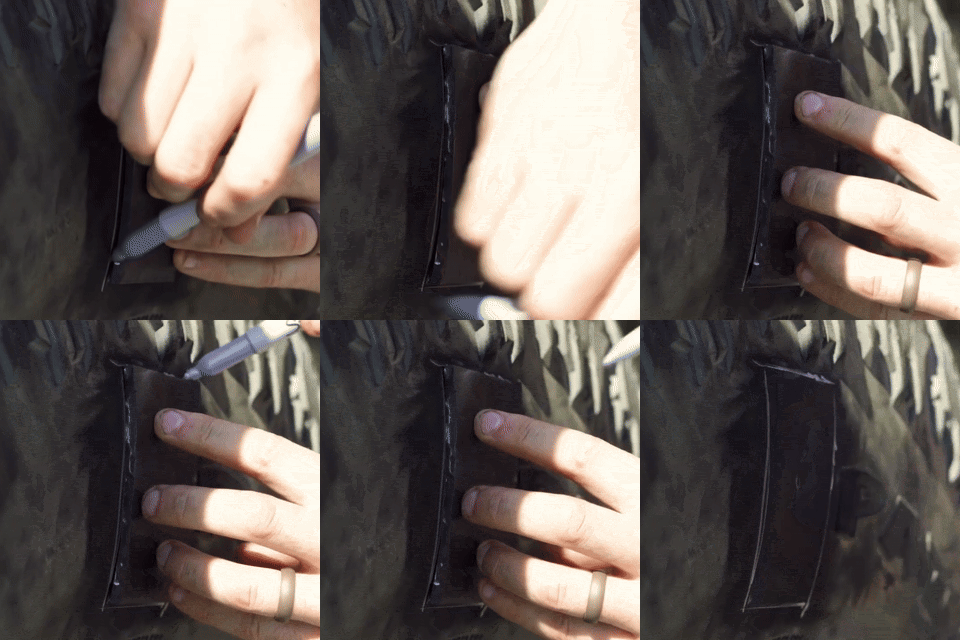
Measure, Mark, and Cut the Patch
Use a patch large enough to cover the damaged area, ensuring at least 1/2" of overlap around the puncture or damage. Mark the size on the patch and cut it to fit.
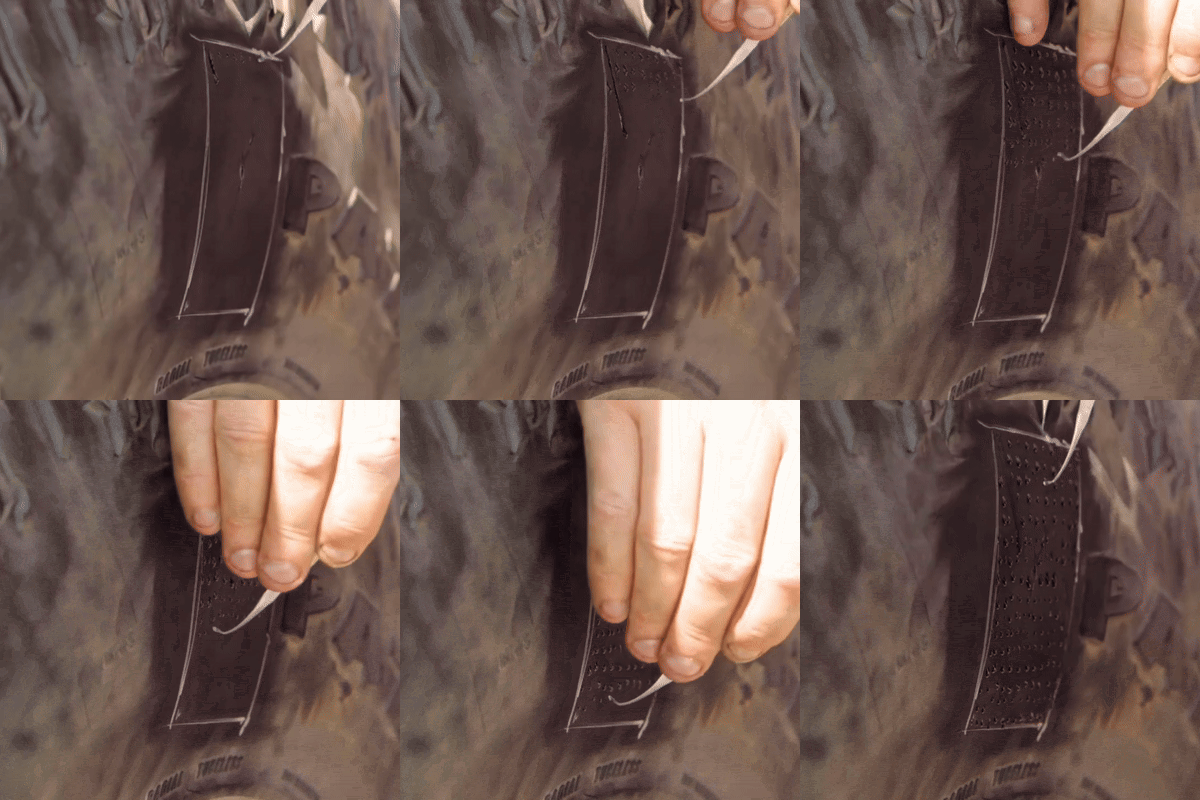
Apply adhesive in dot pattern
Apply adhesive in a dot pattern on either the patch or the tire, following the glue pattern outlined in the instructions. Immediately set the patch in place and apply pressure to secure it.
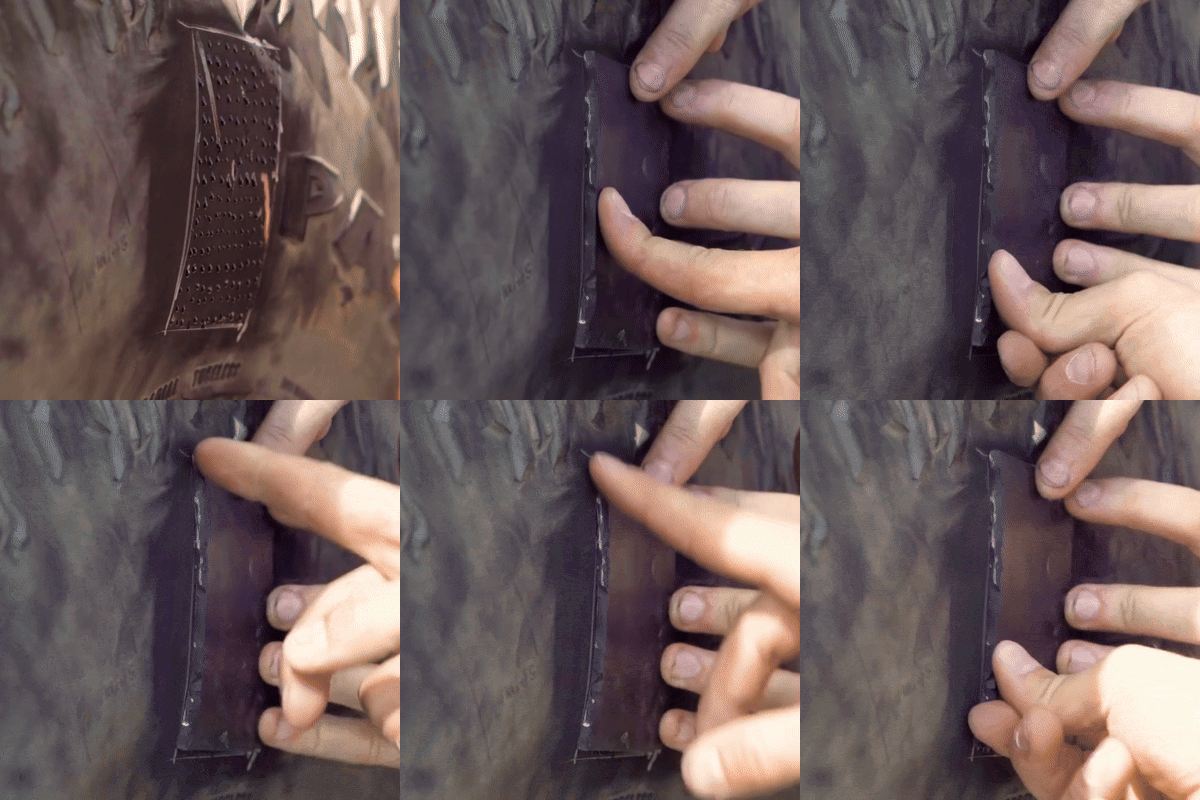
Apply pressure and allow to cure for 10 minutes
Apply even pressure to the patch for 3 minutes, ensuring that the corners and edges are fully adhered. Then, let the patch cure for a full 10 minutes to ensure a solid bond.

Inflate, Check for Leaks, and Ride!
Inflate the tire and check for any leaks. If a leak is detected, deflate the tire and add more adhesive as needed. Once sealed, inflate again and you're good to go!


